
Winterizing your home is part of its annual maintenance and should be performed before the first deep freeze hits. The process can include everything from changing the batteries in your smoke alarms to removing water from a sprinkler system. However, a commonly neglected part of winterizing is preparing your cooling unit for the cold outside.
Although you may be loving your heater as the winter season approaches, you can’t forget about your faithful cooling unit that kept you out of the sweltering heat in the past few months. It still needs a little TLC as it goes into hibernation.
- The Basics of Your Cooling System
An integral part of most homes’ HVAC systems is the air conditioner, especially when you’re in the middle of surfing a heat wave. Three-quarters of homes in America have air conditioners. However, homeowners aren’t always familiar with manufacturers’ recommendations to winterize the products each year, which is why you’re prone to find rust and clogs within the unit and components.
There are a number of steps necessary to take care of the cooling system in your home, such as replacing filters and keeping the evaporator coils clean. Even if you’re a self-proclaimed DIYer, these steps are better left to a professional HVAC technician due to the tools and expertise they require.
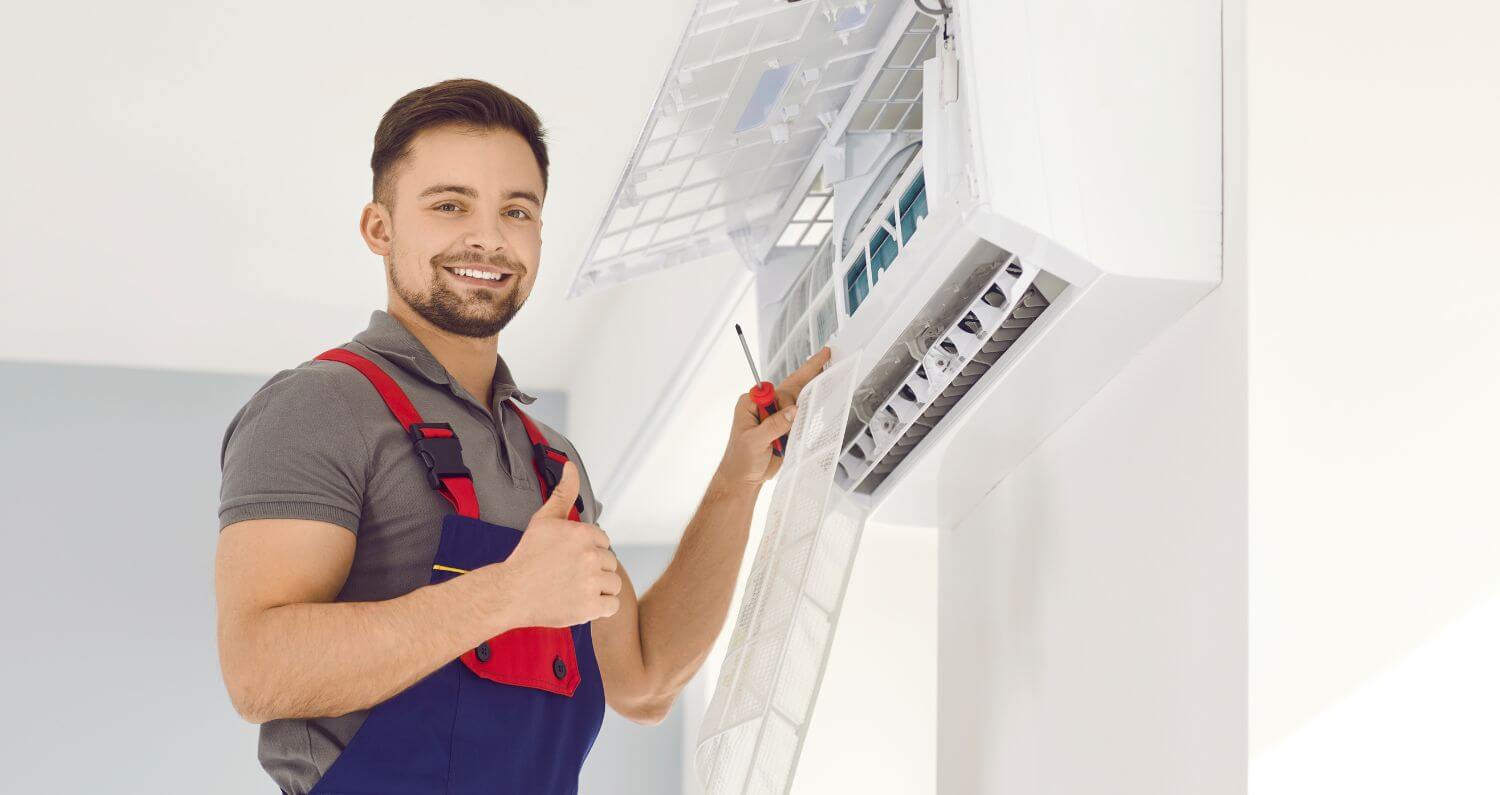
- Preparing Indoor Air Conditioners
It may come as a surprise that indoor window units must be prepared for the winter, making it necessary to remove window cooling units during the winter altogether. Keeping a window unit in will expose it to cold air that comes through the panels of your home.
As you remove the unit, ask for another person’s help to avoid injuries that can leave you with a hefty hospital bill (because no one wants to use their Christmas bonus money on a trip to the ER). Make sure to drain any water and wipe the unit clean for storage. Store it upright in a dry place to avoid damaging the cooling unit.
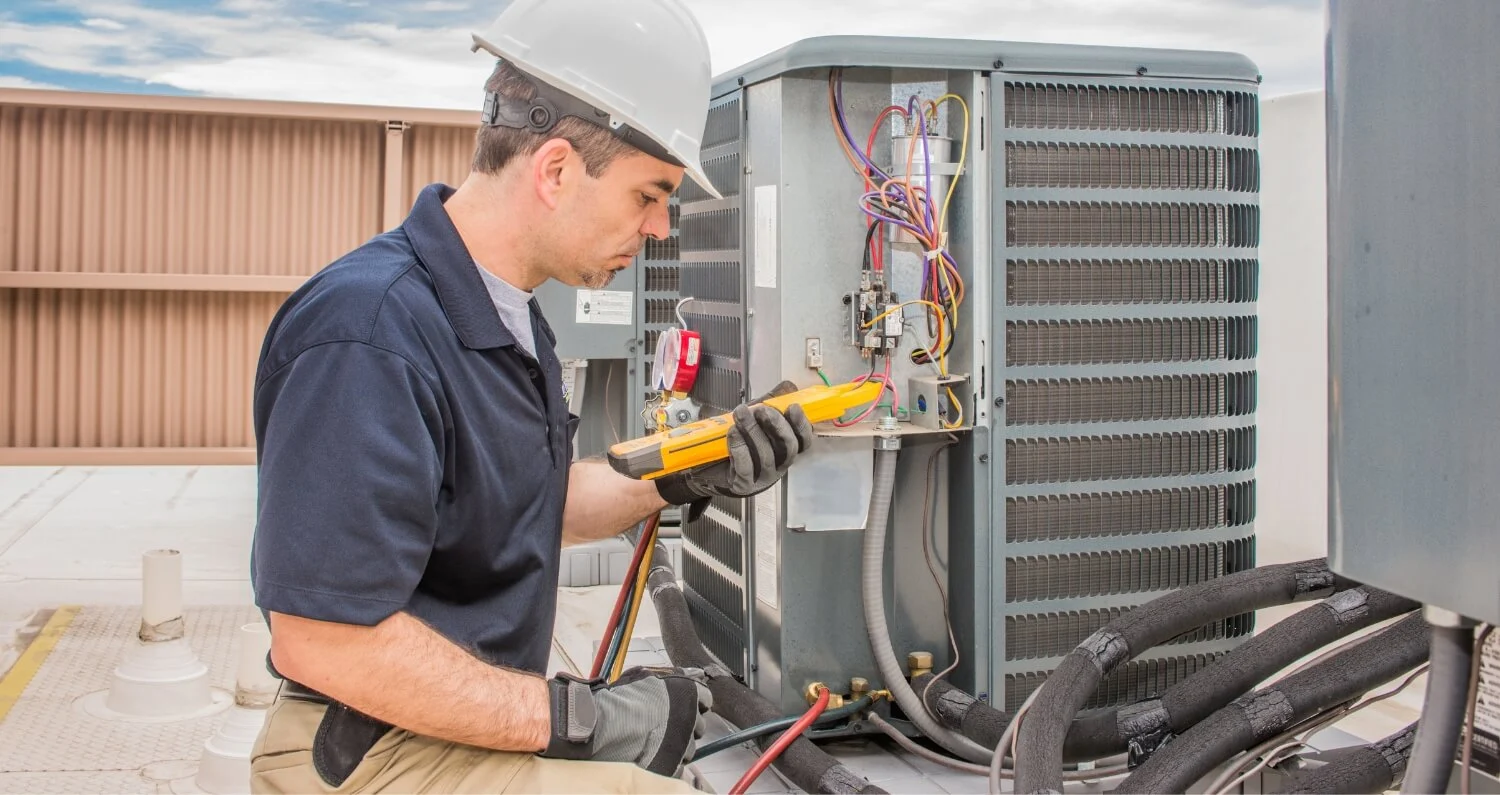
- Maintaining Outdoor Cooling Units
To winterize a central cooling unit, start by shutting off the power and removing debris. Like most other winter preparations, it’s best to do this in the fall, before any snow has a chance to accumulate on the unit (even if it adds a whimsical touch to its clunky appearance and makes your yard look like a Winter Wonderland).
You can cover the top of your outdoor air conditioner with a sturdy piece of plywood weighted down with bricks. This prevents damage to the unit throughout the winter from icicles, twigs, and other types of debris.
- Invest in a Cover
In general, you should avoid using waterproof covers or other wrapping methods, which can trap moisture or entice small animals to make a home in the space as they seek warmth. As adorable as it is to spot a squirrel or raccoon on your property, the damage they cause will immediately make them look like rats. If rodents settle in beneath your cover, they may gnaw on components inside the unit and can leave you with a hefty HVAC repair bill.
However, there are factory-made air conditioner covers that can be more attractive than plywood, and some manufacturers will include them with the unit. If you use a cover, use the proper size for your unit to keep all moisture out. Although you may be tempted to wrap the appliance in plastic as you practice your gift-wrapping skills for the holiday season, this will also lead to rust. Applying car wax is even more effective in reducing the risk of unsightly rust.
Getting Help for Your Cooling Unit
While getting your cooling unit ready for winter is a relatively simple task, mistakes can happen. Leaving the task to a trained and certified professional will protect your investment and guarantee your home stays cool once the spring season arrives.
continue reading
Related Posts
In the realm of home comfort, having a reliable HVAC
Spring is in the air, which means the temperatures are
